You can arrange notes in a notebook to a custom order that is an order that you want the notes to appear, by default the notebook orders the notes by creation date, but you also have an option to arrange and move the notes into a custom order that you want them to appear, this allows you to write the notes in any order, e.g. you can begin writing a particular chapter that is important to your story and then later write other chapters, add front matter such as a title page and even add back matters, arranging the notes is as simple as tapping edit, dragging a note and dropping it in another position.
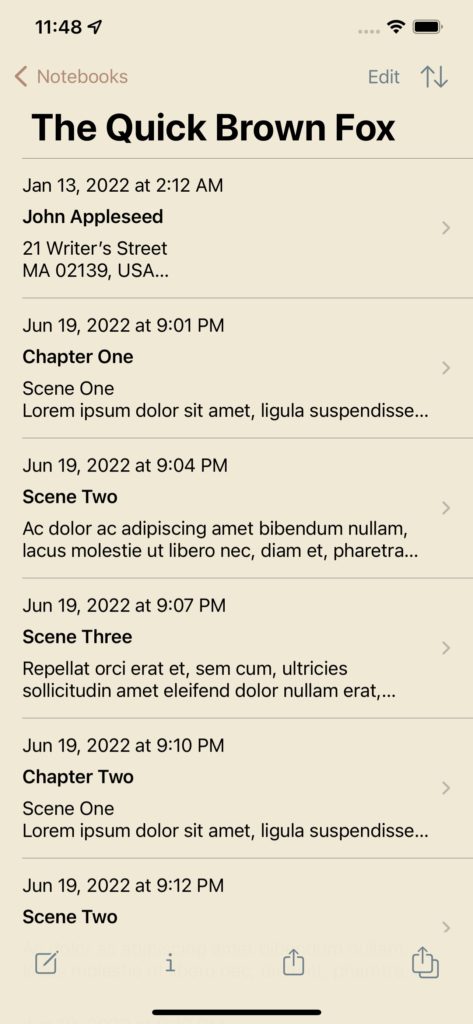
– To edit and arrange notes in a notebook, go to the home screen and tap notebooks, scroll or search & select the notebook (The Quick Brown Fox) as shown in the first screenshot.
– It will show you the notebook view which will show all the notes that you added the notebook, by default it will arrange the notes the way you added them as shown in the second screenshot.
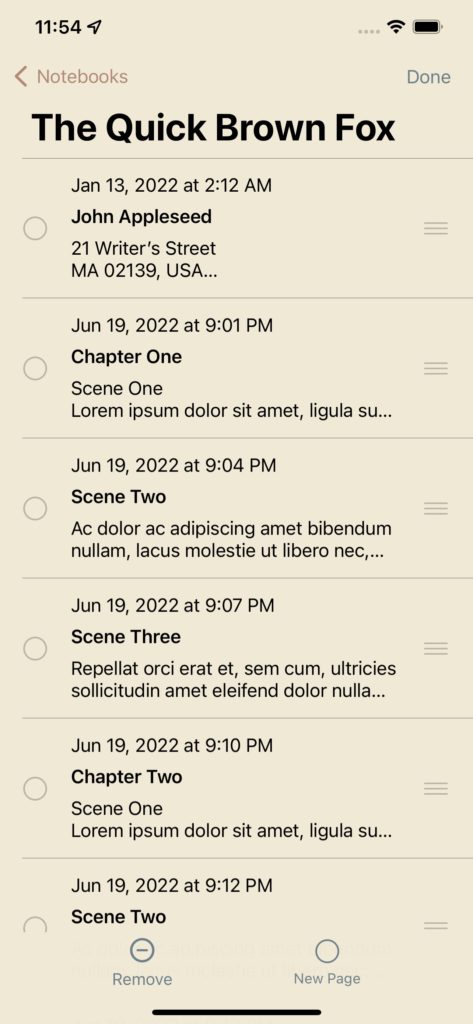
– To edit and arrange notes, tap the edit button, it will also show the move icon on the right with the 3 dashes, simply tap, hold and drag the note and then drop it to the position that you want, e.g. as shown in the third screenshot Scene Two was dragged and dropped into the third position after Chapter One and similarly Scene Three was moved and place after Scene Two. Once you have arranged the note into the order that you prefer simply tap done. You can also remove a note from the notebook by selecting it and then tapping remove button from the toolbar below. Once you have tapped done, your custom order is saved.
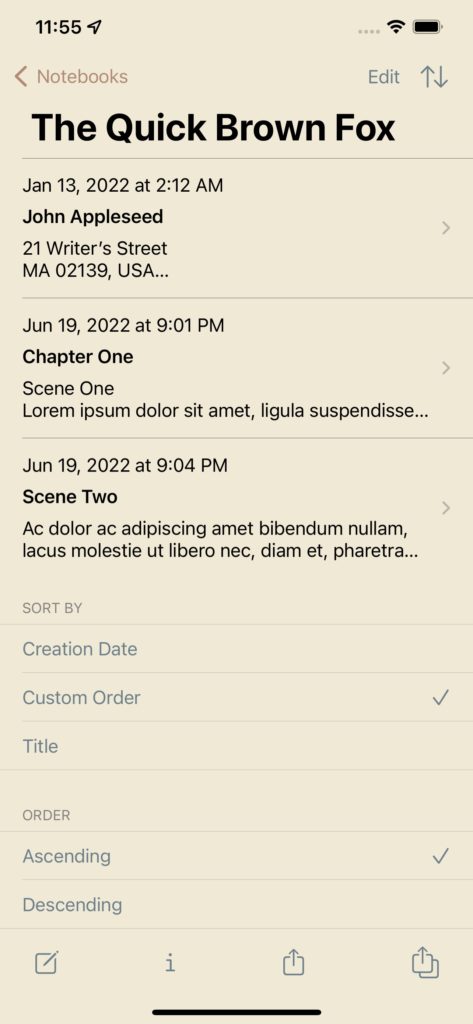
– To view your custom order tap the sort button (up and down arrow) from the navigation bar on top, it will present the sort view from below as shown in screenshot 4, by default notewrap arranges the notes in a notebook by custom order(that is the order in you placed the notes & photos in a notebook), you also have the option to sort y creation date and in ascending and descending order. Your notebook is now ready to be published into various file formats.
Whatever you plan to a write, e.g. a book, essay, report, assignment or research paper, you create a notebook for that, a notebook is like a folder, you add notes or writings of what you are writing to a notebook, e.g. if you are taking notes about a book that you are writing you can add it to that notebook, once in the notebook you can convert those notes to chapters and arrange the chapters in the order that you want and later publish & print the notebook in pdf once you are ready with a draft version.
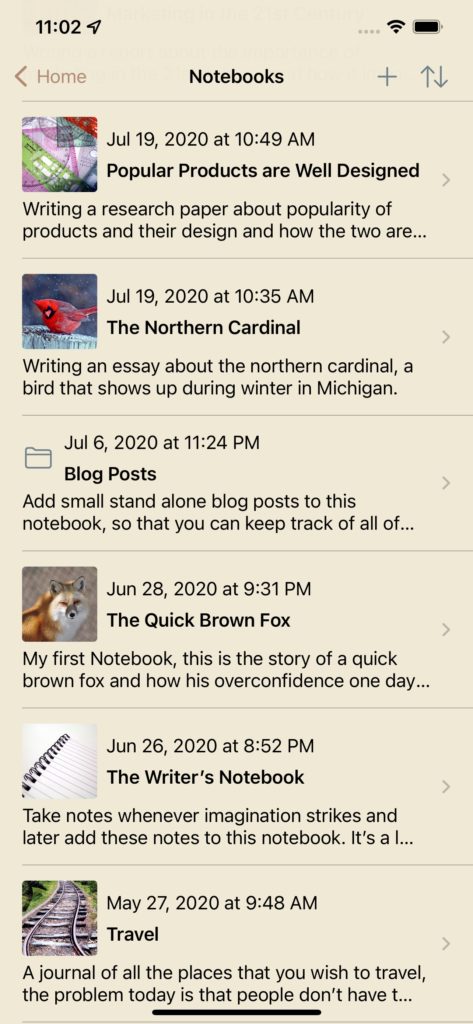
Notebooks
Create a new Notebook
To create a new notebook tap the + icon as shown in the red circle in the first screenshot, it will display the compose New Notebook view, tap the title placeholder to add a title, tap the note placeholder to add short description about the notebook that what is the notebook about, you can also add a photo about your notebook, to add a photo tap the camera button to take a pic or tap the photo library icon to pick a photo from the photo library. Once you have created your notebook you can start adding notes and photo notes to the notebook.
The default text format settings is font Helvetica Neue as shown in the above Text Format Settings screenshot along with other text formatting attributes such as size, line spacing etc. this text format settings is used for all the new notes that you compose, so if you compose a new note then it will have all the above text format settings that you have set, for existing notes you cannot change the font but there are other attributes that you can change such as size and line spacing, you can also customise the text format settings by choosing a font and setting other attributes such as size, line spacing etc., to revert back to the default text format settings tap the default button on the toolbar at the bottom of the screen. Update this text format settings often to change the font to a style that you want, it will be applicable to all the new notes that you compose from now on, if you change it then the new changed text format settings will be applicable to all the new notes, so can use different font styles for different purposes, e.g. if you are writing a book then you can use the New York Serif font and if you are composing a personal note then you can use a Sans Serif font such as Helvetica Neue.
For writers writing a book use the manuscript button to set text settings to industry standard manuscript format, the industry standard is 12 but this size is too small for mobile devices, so the font size for a manuscript is set to 17 which is the ideal font for typing text on mobile devices such as iPhone and iPad, In Notewrap there is also a publish font size which you can further customise and change the font to a style that your publisher wants for the book, e.g. if your publisher’s requirement is Times New Roman font then change font to Times New Roman, as far as the size of the font is concerned keep it to 17 as it is the ideal typing font on Notewrap, you can change it to a size 12 later when you export note, photo or notebook in different formats such as text, rtf, markdown, pdf etc.
Custom Text Settings
You can further customise text format settings according to your preferences, to change font simply tap the font row and it will display the list of fonts available, roll the drum to pick a font and then tap the background again to dismiss the font picker view, you can also change other attributes such as size, line spacing etc. by tapping circle on the slider and sliding it to change the value, as shown in the second screenshot the font has been changed to Georgia and the line spacing has been changed to 1.5. Use different fonts for different purposes, if you are writing a personal note then choose a font that you personally prefer, if you are writing a professional document such as a book then use a font such as Times New Roman that your publisher would prefer. Remember that the changes will be applicable for the new notes that you compose so do remember to change it back if you are e.g. switching back to writing a personal note after you have taken notes for writing a book.