Compose Photo Note

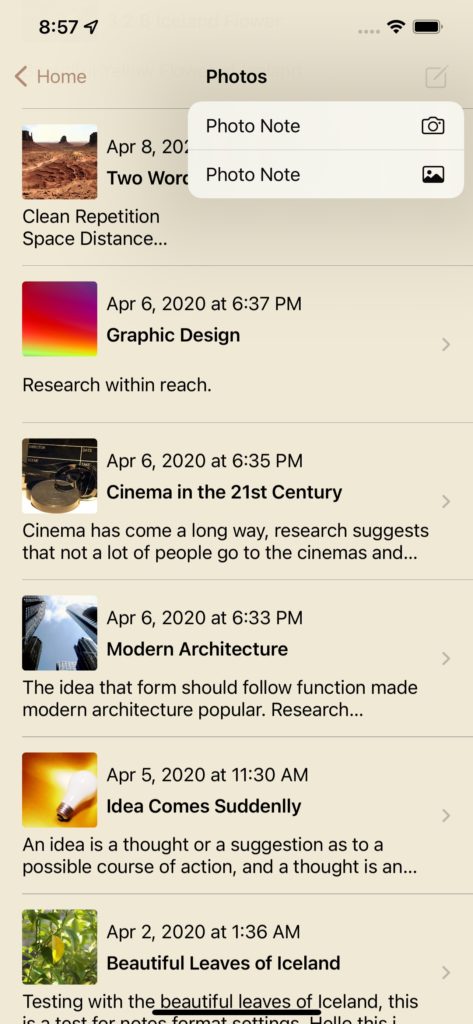
– To compose Photo Note, tap the photos option from the Home screen, The Photos view with list of all your photos will be displayed as shown in screenshot 1, Tap compose button and it will give you option to choose photo from Camera or Photo Library choose one of the options to compose a new Photo note. 

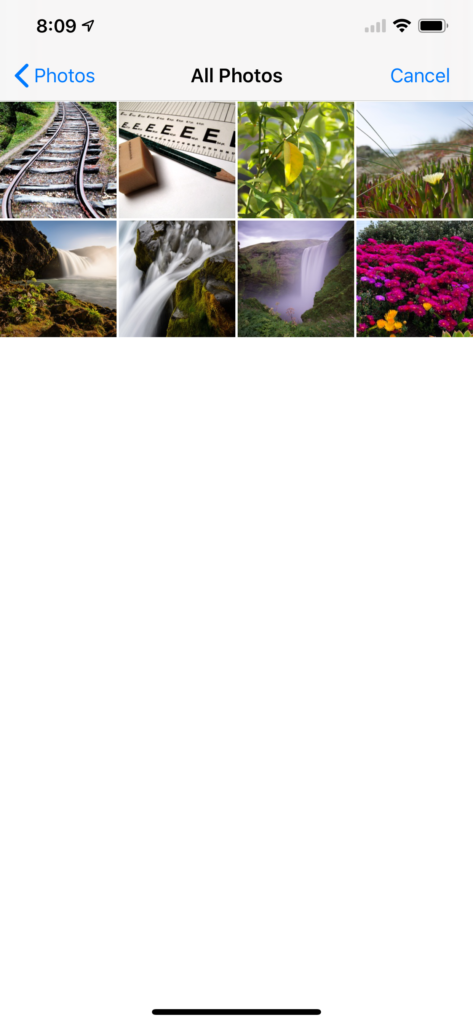
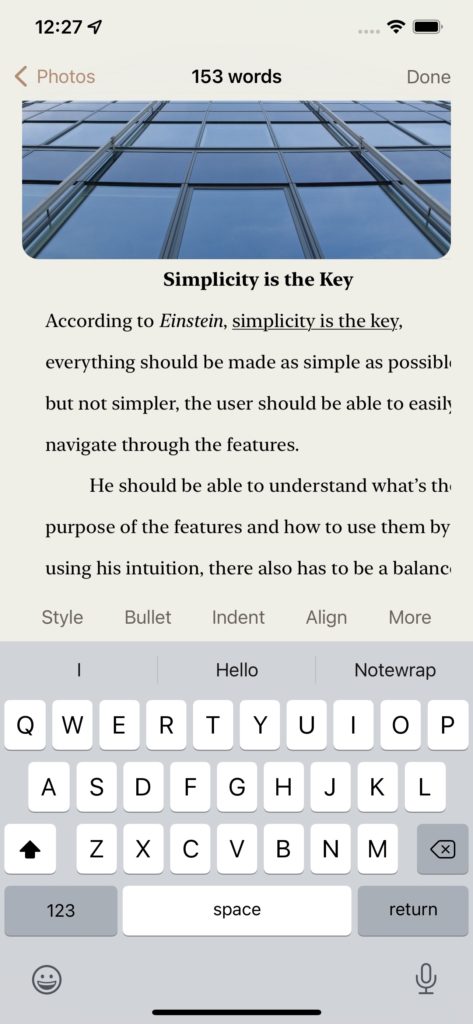
– If you tap the Photo Library icon e.g it will present the Photo Library as shown in screenshot 2 which will display all your photos, pick a photo and it will present a new Compose Photo Note View with the photo you just selected as shown in screenshot 2, Start composing text for your photo Note and tap Done when finished.

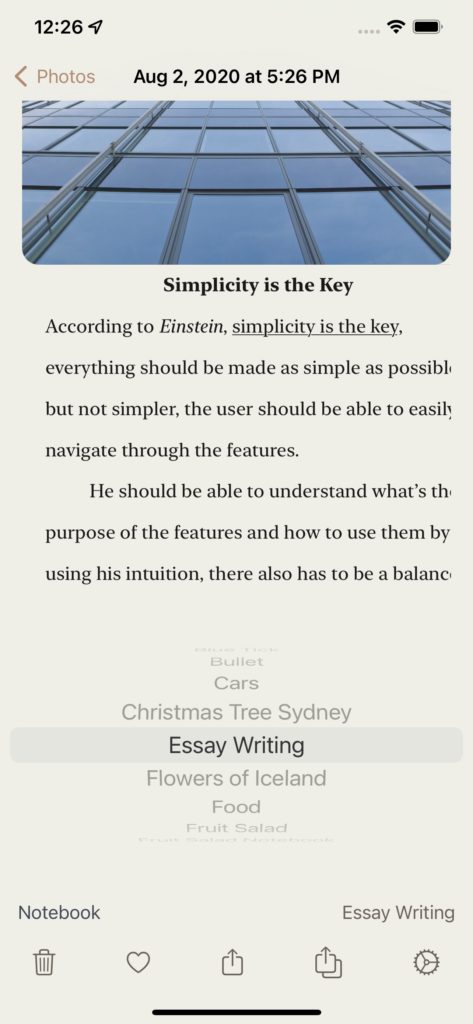
– To add or move a Photo Note to a notebook, on the bottom of the Photo Note there is a notebook row which displays which current notebook the Photo Note belongs to. Tap that row and it will display the picker view with the list of notebooks, simply roll the drum to pick a new notebook for the note or pick None to remove the Photo Note from the current notebook. Tap outside on the note to hide the picker view.

Continue ReadingCompose Photo Note

Note Settings

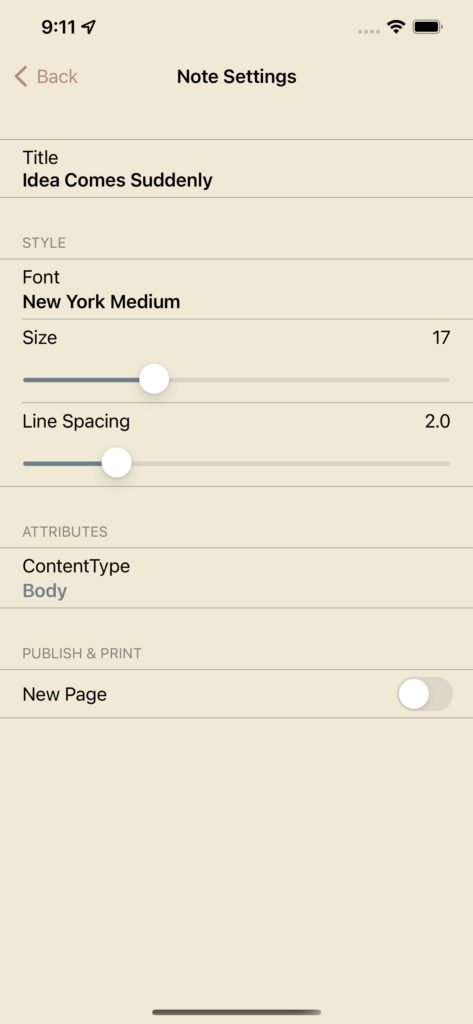
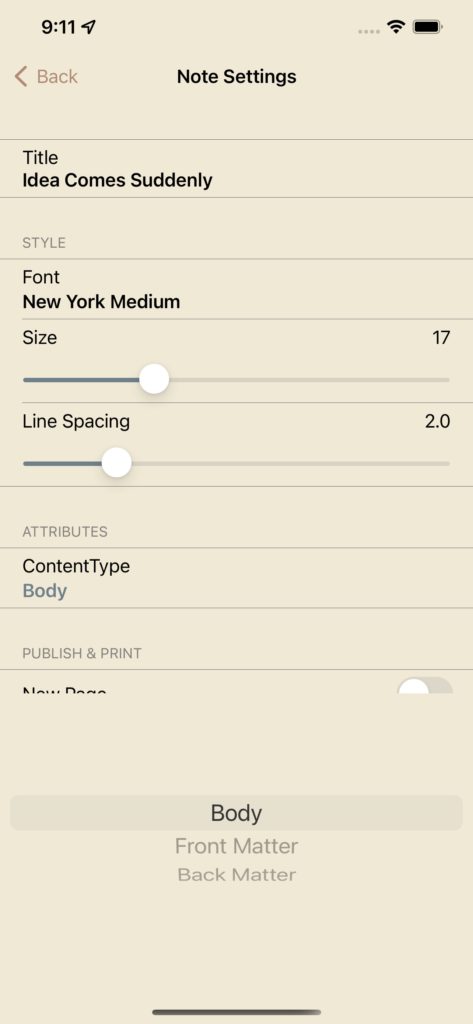
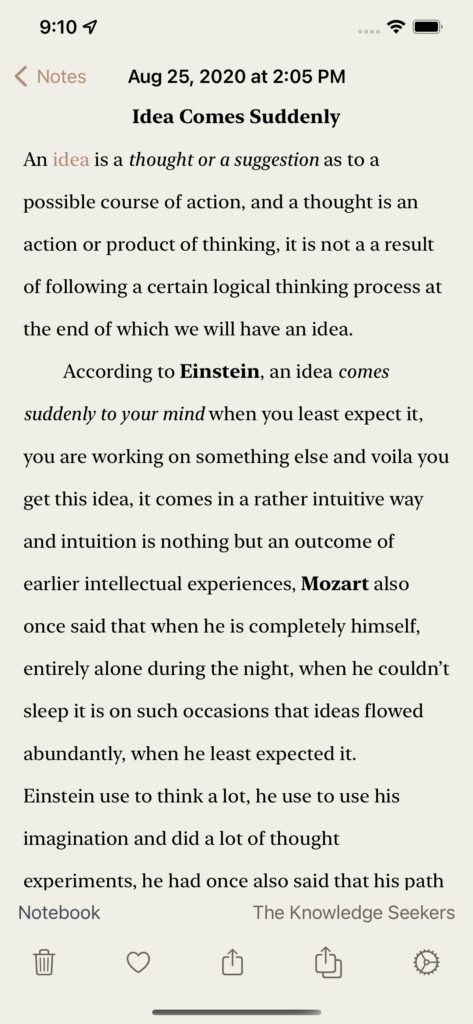
The Text Settings on Notewraps lets you set text settings for a new note. Note Settings lets you change the text settings for a note after you have created it.You can view, change and set certain attributes of an existing note using the settings view of a note. To access note settings tap the settings button as shown in the first screenshot below. You can change the text format settings such as font size and line spacing and set certain other attributes of an individual note. You can customise text format settings such as font size of a note but you cannot change the font of the note once it has been created.

To customise certain attributes of a note go to the note and tap the settings button as shown in the  first screenshot, it will present the Note Settings View which allows you to change the font size and line spacing and set the content type attribute. Simply change the font size or line spacing to what you prefer and set the content type of the note. The content type by default is body and is applicable if the note is added to a notebook and note will become part of the body of the notebook and will get a page number if notebook exported to pdf, e.g. if you are writing a book then you can create a title page and set the content type to front matter, front matter on Notewrap won’t have a page number when you publish the book as pdf. You can similarly customise a photo note which also has a settings button.

Continue ReadingNote Settings

Publish Posts to WordPress

Publish posts to your self hosted WordPress(.org) site right from Notewrap. Before you SignIn from Notewrap to WordPress, you’ve to download and install JWT Auth Plugin. Follow the instructions in the description of this plugin to configure the plugin.  A detail description is here -> How to Install and Configure WordPress JWT Auth Plugin? 

JWT Auth is an industry standard  RFC7519 authentication method recommended by WordPress to authenticate WordPress users via a mobile App.

Once you have installed and configured properly the JWT Auth Plugin, you can SignIn with your WordPress username, password and site details to your self hosted WordPress site and start posting notes as blogs directly from Notewrap app.

Continue ReadingPublish Posts to WordPress